Installing on Android
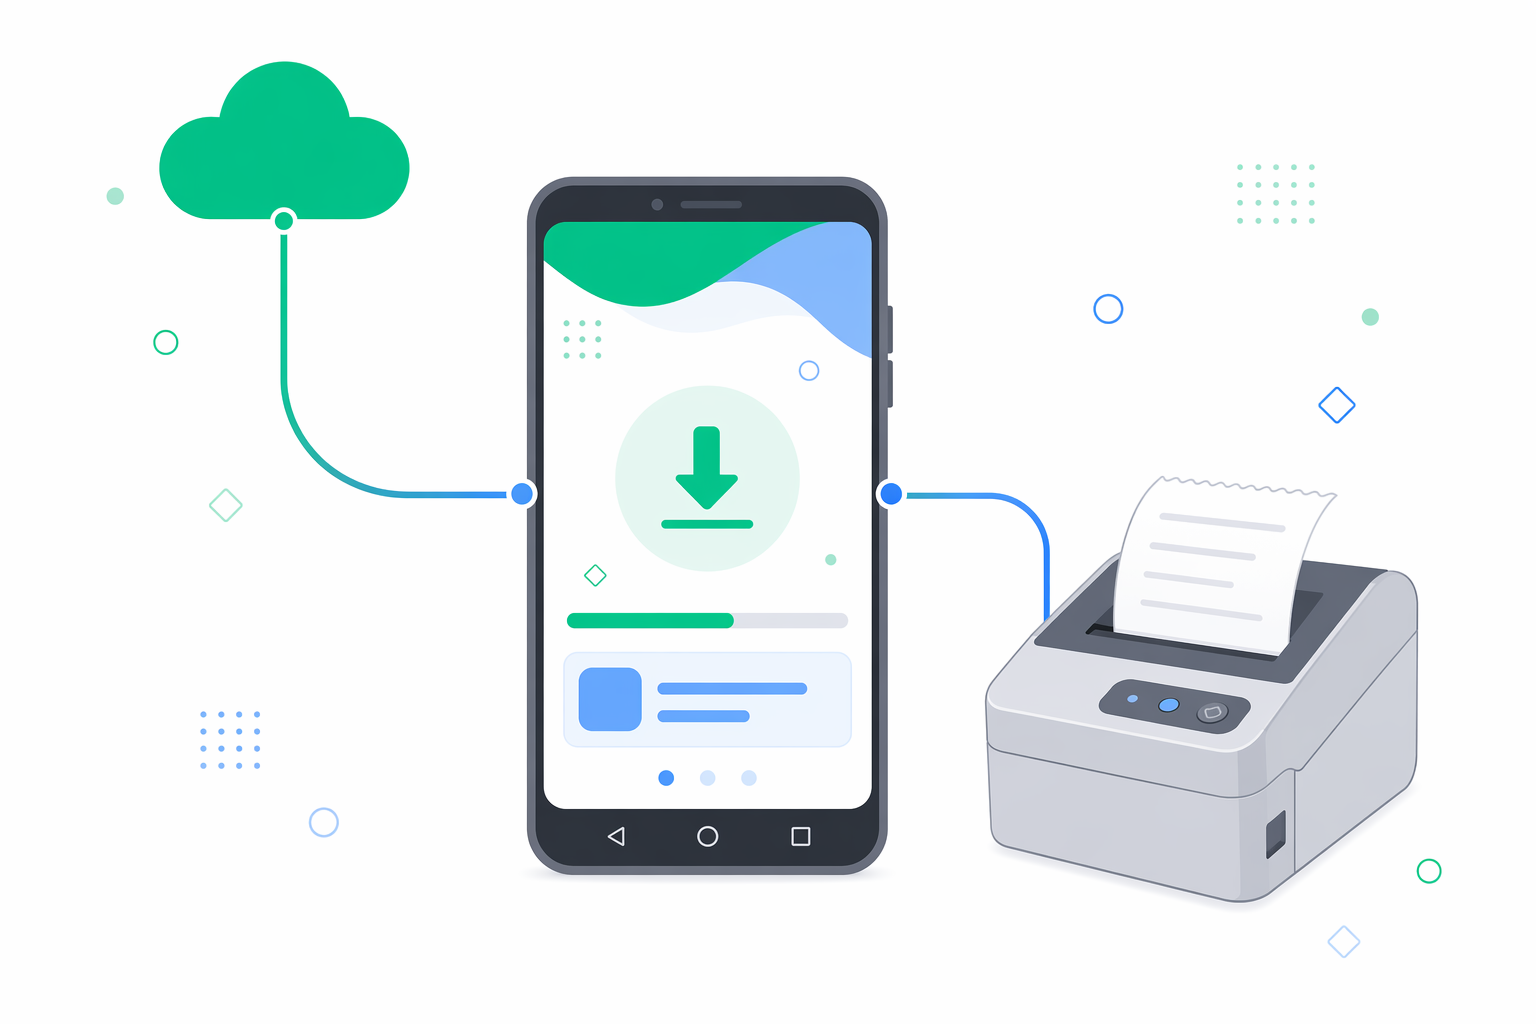
The E-BON Android app is the on-site controller for your fiscal hardware. It runs on the phone or tablet sitting next to your Bluetooth or USB fiscal printer, drives every receipt and report the printer emits, and — when you choose to sign in — syncs the results back to the e-bon cloud in the background. The app works fully standalone: you can pair printers, issue receipts and run X/Z reports without ever signing in. Cloud sign-in is optional and only adds remote management, multi-device sync and Portal visibility on top.
Check what you need
Before you install, make sure you have:
- Android 7.0 Nougat or newer (minimum SDK 24, compiled against Android 14 / SDK 36). The app runs on phones and tablets alike.
- Bluetooth on the device, if you plan to pair a Bluetooth fiscal printer. USB printers work over the phone's USB-C or USB-OTG port with no extra radio.
- Network connectivity (optional) — Wi-Fi or mobile data. The app runs perfectly offline: receipts are stored locally and only flushed to the cloud once you sign in and the link is up. You do not need a network to install, open the app, pair a printer or issue receipts.
- A Portal account (optional). You only need one if you want cloud features — remote commands from the Portal, multi-device sync, or central reporting. For a single-till standalone deployment, you can skip cloud sign-in entirely. When you are ready, see Getting Started and the Locations page to create your organization and locations, then sign in from the Settings tab.
Install the app
Get the app on your Android device
Open the app
Launch E-BON from the app drawer. The app opens straight onto the Home tab — there is no sign-in gate, no welcome wizard, nothing standing between you and the main UI. The four bottom tabs are immediately live and ready to use.
If you want to use the app standalone (single till, no central reporting), you're done — skip ahead to Grant the permissions and then Pair your fiscal printer. The app uses a local sentinel location called Standalone so devices and receipts have a home until you decide otherwise.
Sign in to the cloud (optional)
To attach this device to an organization on e-bon.ro — for remote commands, multi-device sync and Portal-wide reporting — open the Settings tab and tap Sign in to cloud. Enter the same email and password you use on e-bon.ro. There is no separate app account.
When you sign in, any printers and receipts you already created standalone are automatically linked to your organization in the background — nothing is lost, no re-pairing needed. If you sign out later, the local data stays on the device; the rows are just flagged as unlinked and resume linking the next time you sign in.
Pick a location (only after sign-in)
After signing in, the Settings → Location row lets you pick which physical location on your account this device serves — for example Bucharest — Unirii. Until you sign in, the app uses the local Standalone location and everything works the same way locally.
Grant the permissions
Android 12 and newer split Bluetooth into a few runtime permissions, and the system prompts you the first time the app actually needs them — typically the first time you open the Devices tab. Here is exactly what each one is for and why it matters.
Allow Bluetooth scan and connect
The app requests BLUETOOTH_SCAN and BLUETOOTH_CONNECT so it can discover nearby Bluetooth fiscal printers and establish a paired connection with the one you choose. Without these the Devices tab cannot see any Bluetooth hardware. On Android 11 and earlier the legacy BLUETOOTH and BLUETOOTH_ADMIN permissions are granted automatically at install time and do the same job.
Allow location access for Bluetooth scanning
The app requests ACCESS_FINE_LOCATION and ACCESS_COARSE_LOCATION because Android itself requires a location permission to return Bluetooth scan results on Android 10 and older, and for Bluetooth LE scans on some Android 12+ devices that do not support the neverForLocation hint. It is a platform requirement, not an app feature.
Sync with the cloud over the network
INTERNET is granted at install time and is used to sync receipts, X and Z reports, device status, and remote commands with the e-bon cloud. While the app is open it uses a long-lived secure connection so changes appear in the Portal within seconds; in the background, brief push wakeups let the server reach the device when something needs delivering.
Connect USB without a runtime permission
For USB fiscal printers there is no runtime permission to grant. USB connectivity uses Android's built-in USB host API; no special runtime permission is required on Android 6 and newer. When you plug a USB printer in, Android itself shows a one-time prompt asking whether to allow the E-BON app to access that specific device. Tick Always allow and you will not see the prompt again for that printer.
Take the first-launch tour
The app opens straight on the Home tab. Four tabs sit at the bottom of the screen — this is where you will spend the rest of your time.
- Home — a quick status panel for the active location (the local Standalone location when you have not signed in). See the currently paired printer, the last receipt issued, pending sync items, and shortcuts to the most common actions (issue a receipt, run an X report, open Devices).
- Devices — pair, unpair and manage fiscal printers. Every Bluetooth scan, every USB permission prompt, and every printer health check lives here.
- Receipts — issue new receipts and reprint recent ones. Each receipt is attached to the active location. Once you sign in, synced receipts also become visible on the Portal's Receipts page.
- Settings — app preferences, the Sign in to cloud button when you are signed out, account info (email and organization) when you are signed in, the active location, diagnostic logs, and the Change location shortcut.
Troubleshoot and continue
If a permission dialog never appears, a Bluetooth scan returns nothing, or — when you do sign in — the location list is empty, head to the Troubleshooting guide. It covers the common "I installed the app but…" cases (Bluetooth turned off at the system level, location services disabled, wrong Portal password, no location created yet) and how to clear each one in under a minute.
Reports
Read fiscal reports live from your devices — Z history from fiscal memory, the electronic journal, the signed ANAF archive export, and remote X, Z and periodic prints.
Work offline and check connection health
Keep ringing up sales when the network drops. Learn what the header cloud icon means, how to read printer status, and what to do when something goes red.